Lightroom Preset Fun
As a rule, I don’t like to use software presets, either for photography or music. But, like, every rule, there are exceptions. It wasn’t till I read David duChemin’s excellent book on Lightroom, Vision & Voice: Refining Your Vision in Adobe Photoshop Lightroom (Voices That Matter), that I realised that, by default, Lightroom adds a […]
As a rule, I don’t like to use software presets, either for photography or music. But, like, every rule, there are exceptions.
It wasn’t till I read David duChemin’s excellent book on Lightroom, Vision & Voice: Refining Your Vision in Adobe Photoshop Lightroom (Voices That Matter), that I realised that, by default, Lightroom adds a subtle preset to all your photos. If you look at the sliders on any newly imported image, you’ll see that Lightroom has punched the blacks a little, added some brightness and sharpening and a little colour noise correction. Small details, but details nonetheless. David’s suggestion is to apply Lightroom’s own General – Zeroed present (you’ll find that under the standard Lightroom presets) to each photo before you start processing it.
I’ve adopted David’s approach for myself, because I like to start with as neutral an image as possible before making the adjustments that feel right for each photo. I don’t like the added brightness that Lightroom introduces by default and although I pretty much always add blacks and sharpening to every image, I’d rather start with those settings “off” and adjust as needed, depending on what a photo (or set of photos) requires.
Then earlier this week I saw a great tutorial on Faded and Blurred, about creating an Auto-Tone present in Lightroom. Personally I don’t like using the Auto expsoure feature in Lightroom (it never gives me results I’d use). But, the tutorial did make me realise that there is a “typical” look I use for a lot of images in Lightroom and it might be fun to turn that into a preset.
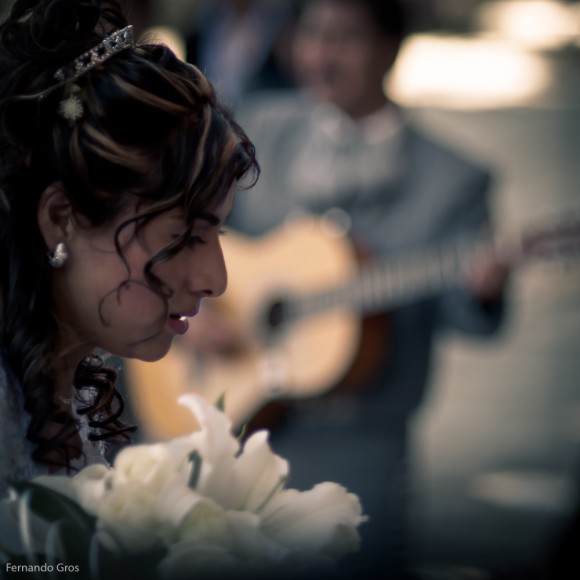
So, what I’ve done is create a simple preset called [download id=”4″]. Please download it and have fun. I guess it’s a snapshot into my most common settings. It’s basically the General Zeroed present with the following adjustments – a warming boost in white balance, a bump in clarity and vibrance, a cut in saturation, a mild contrast curve (more shadows than highlights), a little sharpening along with lumience and colour noise reduction and a modest vignette.
If you need help importing the preset (or want to know more about organising presets), then check out this video from the excellent Adobe Lightroom Killer Tips blog.
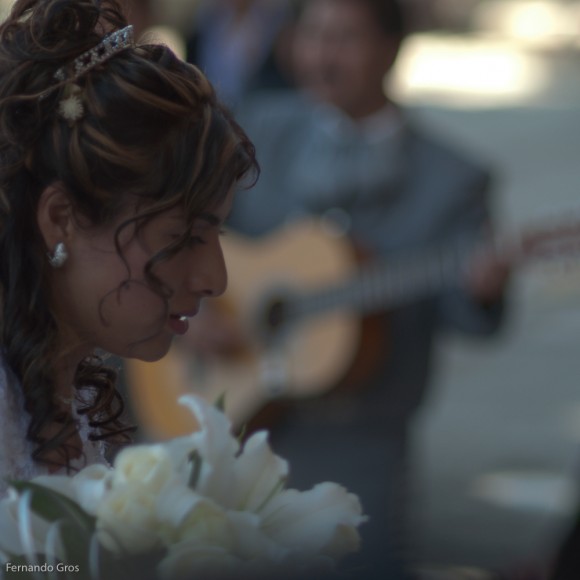
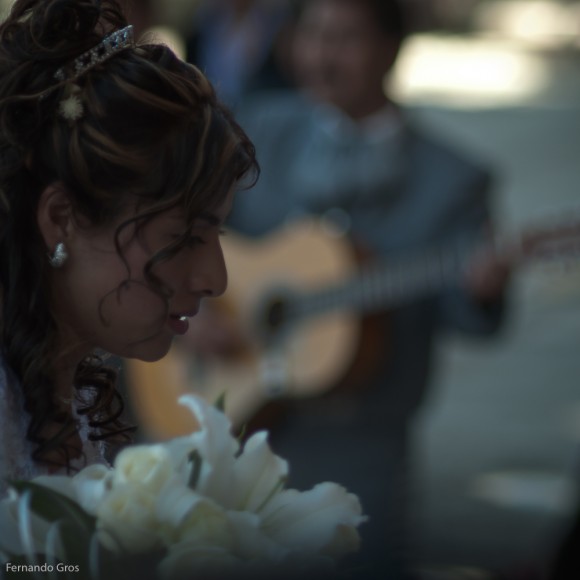
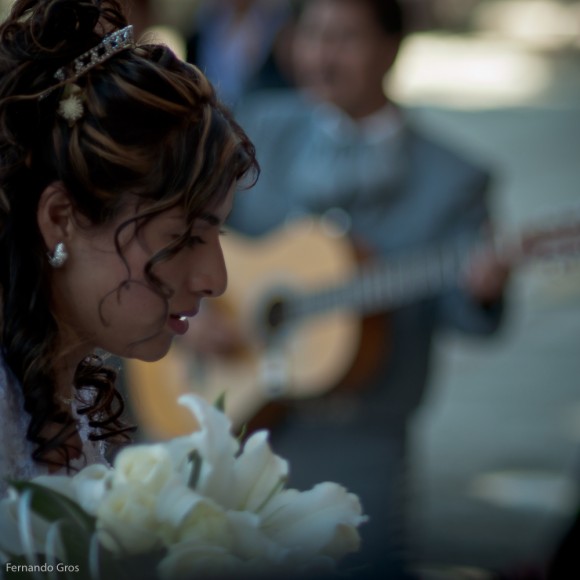
The preset doesn’t do everything, but it does most of what I do these days to an image to create my “house” look, apart from adjusting the Exposure settings (and manually tweaking the White Balance). You can see what I mean in the following three images,


If you want to use the preset then adjust your exposure try this. Open a photo, apply the preset, then adjust the White Balance a little. Then grab the exposure slider while holding down the option key. This will turn your image black, except for white patches, where the image is overexposed. Aim to have a few white areas, but not many and not large patches. Next, grab the black slider with the option key pressed. This will turn the image white, except for any black areas, which are “true black” in the image. You want to have some true black in areas that, well, should be black. Next, grab the recovery slider, again with the option key pressed. This will look like the exposure slider did – slide it up till most or all of the image is black again (you’ve regained your brightest highlights). Finally, if the image is still dark, add a little fill light (which I prefer to moving the brightness slider).
The thing about presets is that they are a shortcut. A preset is like taking an average of a set of workflows. And, like any average, they are kind of accurate and totally inaccurate.
I don’t actually work with presets for that reason.
But, presets can be fun to play with and are a great way to learn. When I started using Logic Pro I, dove into all the presets, as a way to figure out how the various effects and soft synths worked.
In Lightroom I did the same thing – find a cool preset, then look through all the sliders in the Develop Module to see how the effect was created. I hope playing with this preset will help you with developing your images in your own way.


