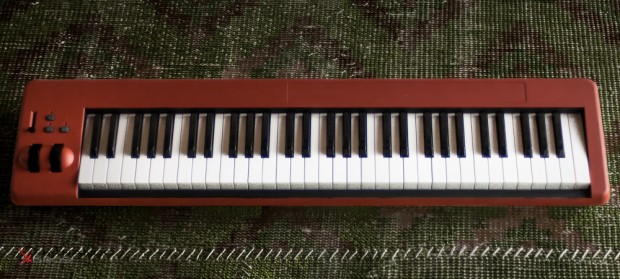
M-Audio Keyboard Repaint
It’s fairly essential, in a modern, MIDI-enabled music studio, to have some sort of controller keyboard. Having only basic piano skills I’ve always resisted spending a lot on a keyboard. As long as it has a decent feel, I’m not too fussy. My current controller is the M-Audio Keystation 61es USB MIDI keyboard, which is […]
It’s fairly essential, in a modern, MIDI-enabled music studio, to have some sort of controller keyboard. Having only basic piano skills I’ve always resisted spending a lot on a keyboard. As long as it has a decent feel, I’m not too fussy. My current controller is the M-Audio Keystation 61es USB MIDI keyboard, which is a fairly plain and very affordable product that gets the job done for me.
But, the Keystation 61es has one major, debilitating problem – it is butt-ugly.
Although M-Audio have improved the look of they keyboards in recent years, the Keystation 61es is an older design which, frankly, looks a lot more like a cheap computer peripheral than a musical instrument. It feels out of place in my studio.
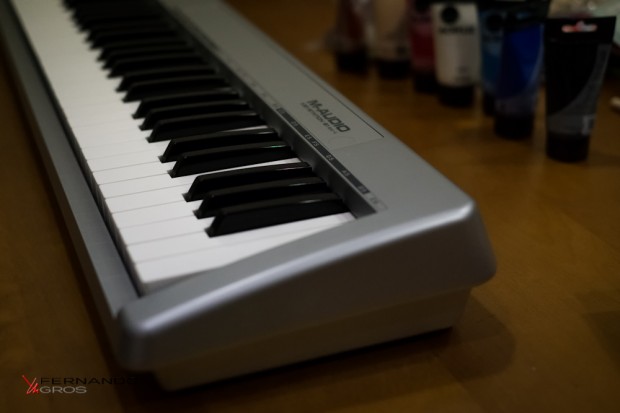
So, I started to wonder if it would be possible to repaint it. Surprisingly, there’s not a lot of stuff online about doing this, which struck me as kind of odd. Anyway, I took my Keystation 61es down to the workshop, opened it up and realised the job might be fairly straightforward.
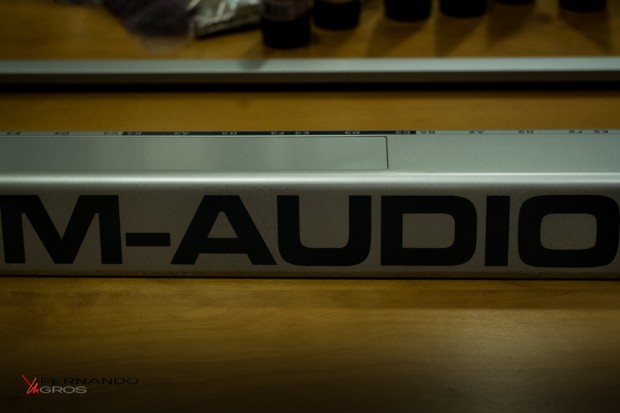
There are 16 black screws that hold the top cover of the keyboard in place, shallow recessed at the front and in the square holes around the sides and back. You don’t need to undo the screws in the deep round recesses as they hold the key mechanism itself in place, which doesn’t need to come off for a repaint.
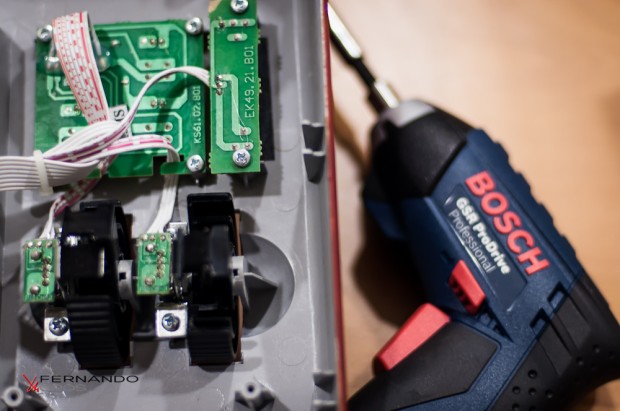
Once you open the top of the keyboard, be careful as three cables attach the modulation and pitch wheels, volume control and range buttons to the controller board. These unclip easily, then undo another 10 silver screws and the top is free and and ready to paint.
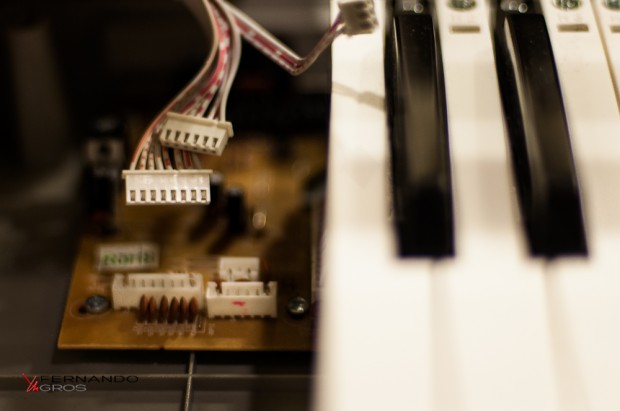
Like most cheap computer peripherals, the Keystation 61es has a glossy plastic finish which is not all that easy to paint over. You could sand back the surface and spray paint for a professional touch. But, I was actually more interested in something a little rougher and handmade looking. So, I went with brush coats at first, to build up a finish, then roller coats at the end. I used basic, art store acrylic paint, in a nice rusty brown, with jet black accents around the keyboard recess.
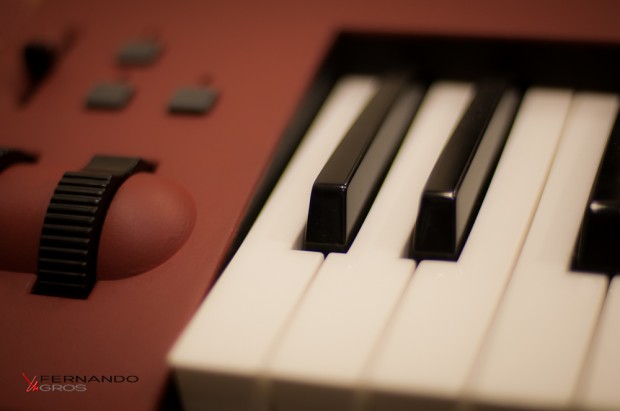
The end result was something that looked rather funky, a bit like it had been sitting in the corner of a bar, or maybe a church basement, for many years. In other words, exactly the aesthetic I wanted! It’s amazing how simple things like this can make a device feel more like a musical instrument!
