Wood Work
Things have been quiet here a few days. I’ve been busy in the studio with a different kind of creative project. I’ve put down the guitars and cameras and taken up the power tools in a bid to make myself a new piece of furniture for my recording equipment. Back in 2003 I was in […]
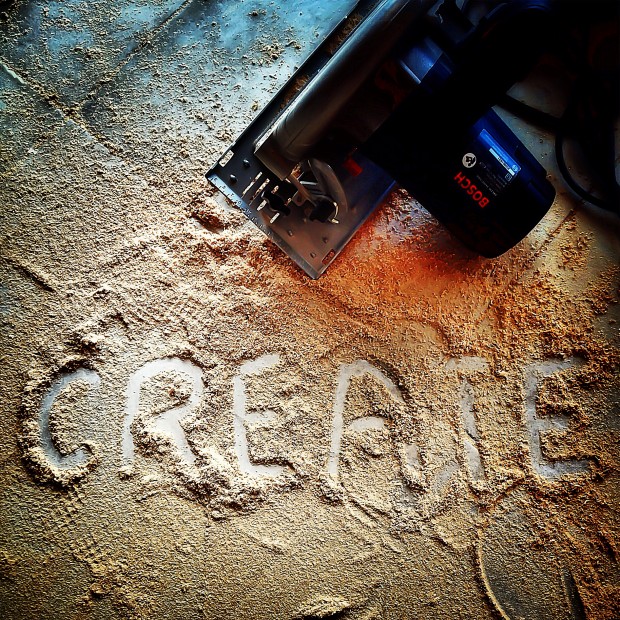
Things have been quiet here a few days. I’ve been busy in the studio with a different kind of creative project. I’ve put down the guitars and cameras and taken up the power tools in a bid to make myself a new piece of furniture for my recording equipment.
Back in 2003 I was in India. I had brought an old, fairly large, Ikea desk with me from London. Pretty soon I had a piece of furniture built for me, a big leather bound side table (1800mm wide, 600mm deep) that sat over one half of the desk with a bit of clearance underneath. This allowed me to set my monitors (screen and audio) closer to head height and gave me a little space, about 1 rack unit, between the desk and new piece of furniture, to store audio interfaces, cables and other gear.
Both pieces of furniture were in storage during my years in Hong Kong. It was a delight to unpack them and put them to work in my new studio space here in Singapore. However, when I started to buy some new gear last year I realised the desk had to go.
I needed something that would put the new gear at my fingertips, doing dual service as a desk and equipment rack. But, I wanted to keep the unique piece I had made in India and incorporate it into the new setup. Ready to build studio furniture didn’t fit my requirements and I had a hard time finding anyone who could custom build what I needed here in Singapore
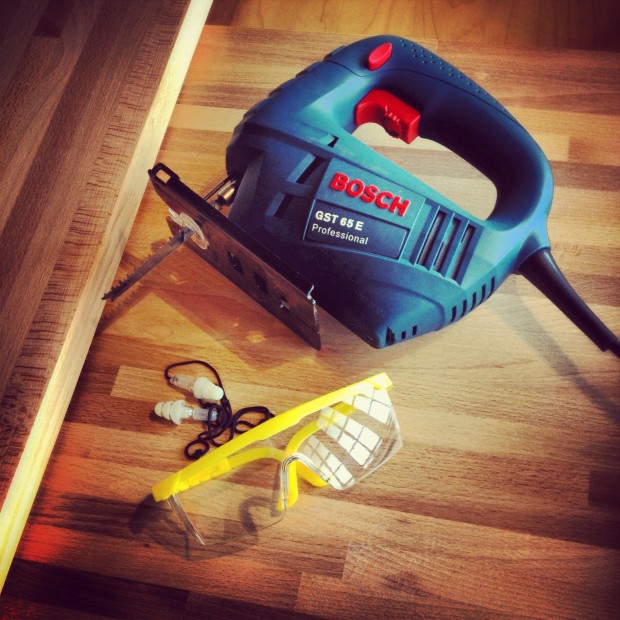
The solution seemed obvious and also a little daunting. Build it myself. Problem was, it has been years since I built anything larger than a speaker cabinet and finding decent raw wood here was a bit of a hassle. Thankfully I was able to find some sturdy and useable material at Ikea (Lagan kitchen counter tops). And, a crash course in power tool use and safety via YouTube inspired me to take the project on.
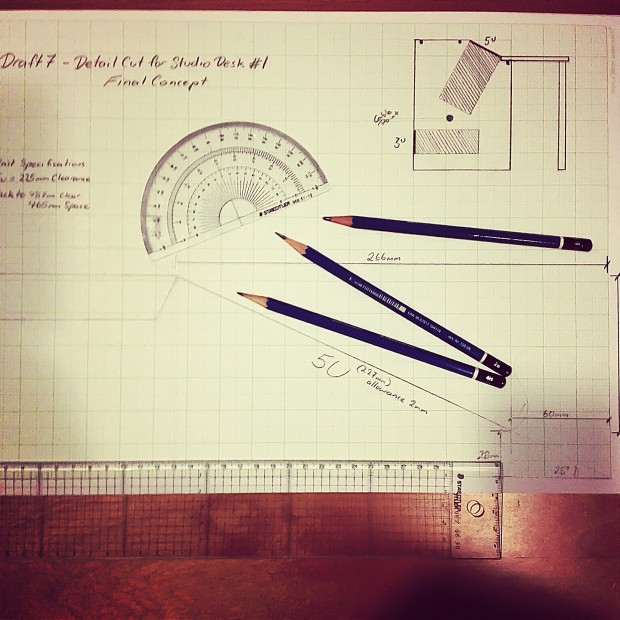
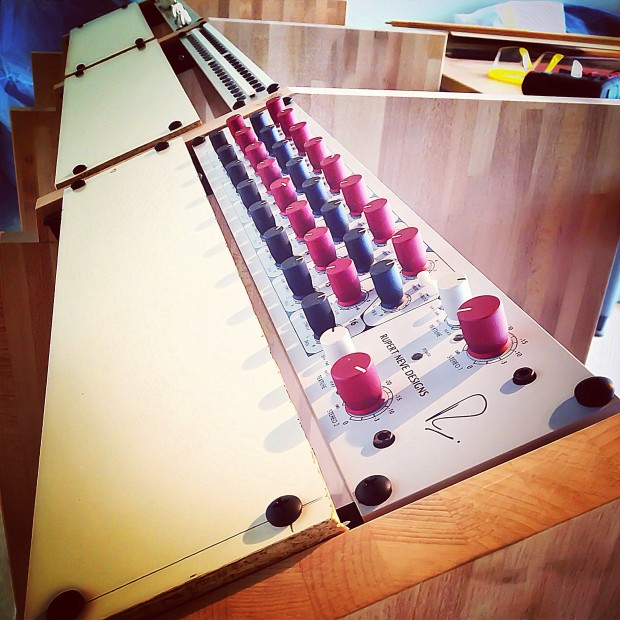
I figured if the gear was mounted at a 25 degree angle, I would be able to create enough space for 15 rack units of gear and still keep roughly the same desk height as before. The design process was slow, as I burrowed around the dark recesses of my brain trying to dig up some high school trigonometry.
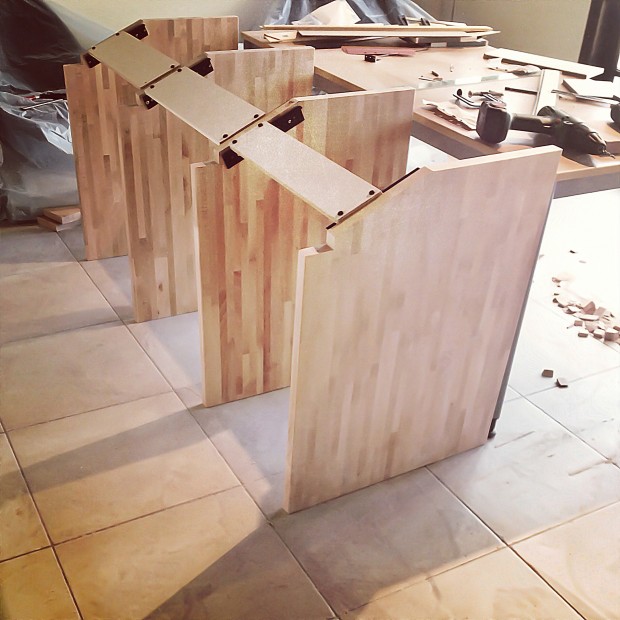
Once the design was in place, it was down to cutting and assembling (after a few trials with the power tools). I took my time, following the old adage to “measure twice, cut once.” There were plenty of features to pay attention to. The 25 degree cuts for the gear needed reverse 25 degree cuts in the top boards for the gear to slide into. Holes needed to be cut for cables to be routed inside the desk. Each panel had a small rout made to sit the desk into the rack unit for extra strength. And, a side overlap was added so that cables run from behind the rack to the front desk would have somewhere to sit.
The slow methodical build was, dare I say it, something of a spiritual experience. I’ve always been inspired by the old shaker motto “hands to work, hearts to God.” That’s the kind of spiritual activity that really inspires me and this experience of working wood for a week was delightfully inspiring.
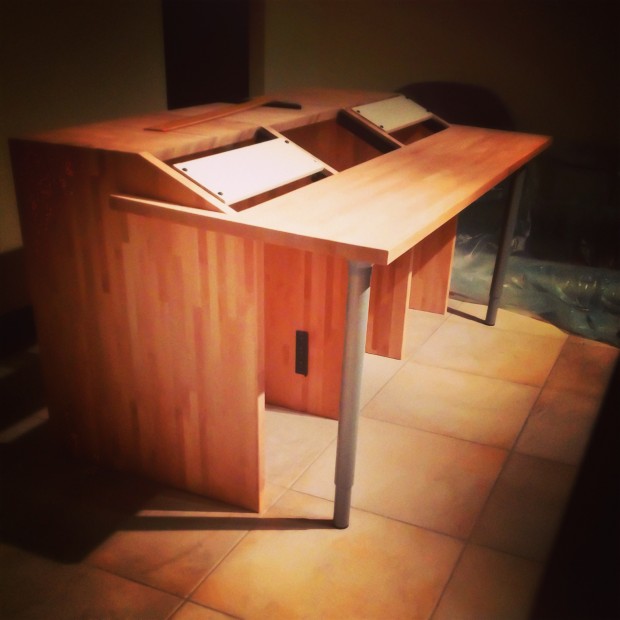
In my next post I’ll show you the unit moved into the studio and mounted with gear.


