


HDR Done Right (Part 789)
OK, I have to admit my series on doing HDR photography has been a bit of a mess. I set out to write a step by step guide to my approach to High Dynamic Range photography, but I’ve kept rethinking and perhaps over-thinking my explanations and so, stopped posting the series. I will come back […]
OK, I have to admit my series on doing HDR photography has been a bit of a mess. I set out to write a step by step guide to my approach to High Dynamic Range photography, but I’ve kept rethinking and perhaps over-thinking my explanations and so, stopped posting the series.
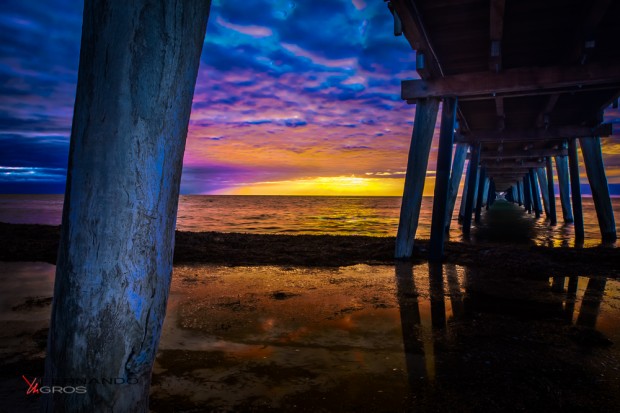
I will come back this tutorial, but for now I wanted to sum up my approach, which you can see in the image above.
The first important point is not to auto bracket. Instead, choose your exposures based on the composition you are creating (composition-driven HDR). The composition lets you decide if you need two, three, or more images depending on the features you want to highlight. This avoids using blown out images, which increase the chance of halos, or very underexposed images which increase the noise.
Once you import the images, use a HDR merge programme to blend the images into a flat, well exposed image with no halos! In this case I used the HDR merge in Photoshop Then take one or two other images from the set, which look good as general stand alone images and bring those into photoshop along with the HDR image.
Convert one of the general exposures into a black and white with strong contrast and on the other general exposure push up the vibrance a little. Then blend the three images to taste.
Of course, there is a lot you can do with the blend modes to bring the image to life. Hopefully I can return to that later.