iPhoneography 101
Two years ago I expressed my love for taking photos with the iPhone or, as it has come to be known, iPhoneography. Since then things have exploded. Taking photos on the iPhone (and other smartphones), developing them with in-phone apps and sharing them instantly via email or social media platforms have become a daily habit […]
Two years ago I expressed my love for taking photos with the iPhone or, as it has come to be known, iPhoneography. Since then things have exploded. Taking photos on the iPhone (and other smartphones), developing them with in-phone apps and sharing them instantly via email or social media platforms have become a daily habit for many people. I believe that iPhoneography is fundamentally redefining the role of photography in our lives.
So I’ve decided to put together a quick guide to creating compelling images on the iPhone (based on my approach). Hopefully this 101 will give you some ideas for your iPhoneography.
1. Shoot With The iPhone’s Native App
My preference is to photograph with the iPhone’s native camera app, then open the photo in another app for processing. This is an extra (time-consuming) step. But, if you try to take a photo in, say Instagram and the app crashes before you’ve posted your shot, you will have lost the image forever. Also, if you apply some crazy processing or border, you can’t go back and undo that later. So, capture the photo, then process.
2. Turn On The Grid
Hit options and you’ll see a slider to turn on the grid. This lets you easily compose according to the rule of thirds and generally makes you more aware of your composition (more on that later).
3. Focus & Expose
Tap on the screen, over the image you are trying to photograph and your iPhone will adjust both focus and exposure. So if the object you want to photograph looks dark, you can tap on it and the iphone will adjust exposure accordingly. This also lets you get creative, with killing off darker backgrounds, or lightening bright backgrounds.
4. Compose: Is It In Or Out?
The lens on the iPhone is fairly wide, which lets you bring a lot of context into your images and also, if you are not careful, a lot of clutter and distraction as well. So, keep an eye out for things in the foreground and background of your image and, especially, stuff on the edges (frame) of your shot. Ask yourself – do I want it in, or out?
5. Remember The End
If you are going to post to Instagram, then remember that app posts square cropped images to the web. So, do not to put important details in the areas that will be cropped out. My approach is to open up images I want to post to Instagram in Snapseed and crop them to a 1:1 ratio before processing them.
6. Aim At The Sun
The iPhone is remarkably good in bright and even harsh light. The lens flare is useable and the highlights blow out less than you might expect. Also, you can capture some brilliant colours in the middle of the day.
7. Look For Details, Patterns And Strong Shapes
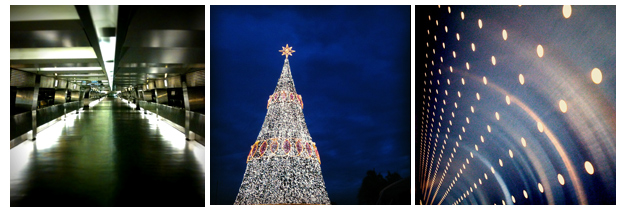
I love photographing details, especially metals, with the iPhone. Moreover, the wide lens can do interesting things to repeating patterns, if you play with the angle you hold the camera. And, you can do a lot with strong geometric shapes and sharp contrasts.
8. Don’t Be Afraid To Process – Hard
There are lots of great apps for processing images. I love the filters that come with Instagram, but I’m even more in love with the truly awesome Snapseed and my old favourite, TiltShift. Processing won’t save a bad image, but you can add some amazing pop with these apps. After all, if you followed step 1 in this guide, you have an unprocessed version of your photos, if you don’t like where the processing took you.
9. Go Close
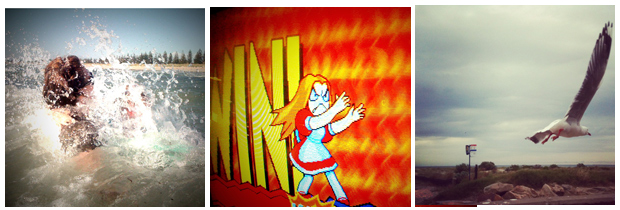
If you photo isn’t quite working, try going closer. In fact a lot of the time, I hold my iPhone alarmingly close to doorways, pools, roads, machinery and naked flames. OK, it’s not safe and it may (or probably will) destroy my phone one day. But, the images look cool!
10. Shoot The City
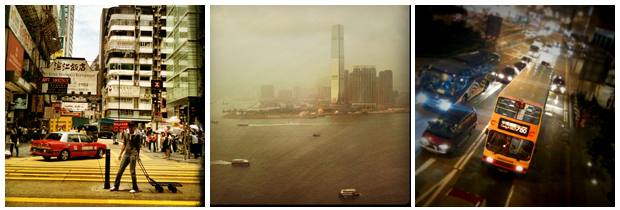
The iPhone does really well with city-scapes. In fact I’m constantly amazed at how little processing you need when shooting the city in good light (or big city lights). That said, some grungy filters, or a little tilt-shift can also bring those city scenes to life.
11. Take Chances And Photograph Amazing Stuff
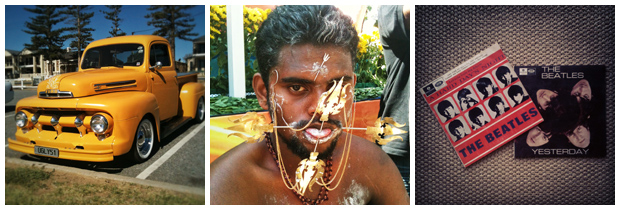
OK, this is not really an iPhone tip. Still, if you want to take better photos point you iPhone at amazing stuff – or at least, take some chances and point your iPhone at ordinary stuff in an amazing way.
12. Say Something
In a lot of ways iPhoneography is the same as conventional photography. You are just doing in this wonderful little pocket sized computer. People will look better if they have done their hair, put on some makeup, or at least had a good night sleep. That photo of today’s lunch will look better if you take a moment to arrange the food on the plate. The photo of that cool thing that arrived in the mail will look sharper if you turn on a few lights first. And, that cool whatever it is that you want to share with your friends will look more compelling if you just take a few extra moments to focus, expose, compose and develop your image with care.
But, most of important of all, people will connect with your iPhoneography if your images say something. It might be funny, odd, surprising, beautiful or whatever. Not every photo has to be deep, but the photos we remember speak to us on some level.
That’s why I think this image is one the best I’ve taken with the iPhone. It captures a feeling many of us have felt when it comes time to pack up and say goodbye to a place. I could have taken this with a “better” camera, but that wouldn’t have made it a better photo. And, the fact that I was able to share this photo with friends and family around the world while I was still in that moment made it all the more powerful.
So enjoy, experiment, have fun and remember to share your work with the rest of us!


